松哥给最近连载的 Spring Security 系列也录制了视频教程,感兴趣的小伙伴请戳这里->Spring Boot+Vue+微人事视频教程 (Spring Boot 第十章就是 Spring Security)。
在前面的两篇文章中,松哥和大家分享了 CAS Server 的搭建以及如何使用 Spring Security 搭建 CAS Client。
但是前面的案例有一个问题,就是登录用户是在 CAS Server 配置文件中写死的,没有对接数据库,实际项目中,这里肯定要对接数据库,所以今天,松哥就来和大家聊一聊 CAS Server 如何对接数据库。
松哥最近和 Spring Security 杠上了,这是 Spring Security 系列的第 25 篇:
挖一个大坑,Spring Security 开搞! 松哥手把手带你入门 Spring Security,别再问密码怎么解密了 手把手教你定制 Spring Security 中的表单登录 Spring Security 做前后端分离,咱就别做页面跳转了!统统 JSON 交互 Spring Security 中的授权操作原来这么简单 Spring Security 如何将用户数据存入数据库? Spring Security+Spring Data Jpa 强强联手,安全管理只有更简单! Spring Boot + Spring Security 实现自动登录功能 Spring Boot 自动登录,安全风险要怎么控制? 在微服务项目中,Spring Security 比 Shiro 强在哪? SpringSecurity 自定义认证逻辑的两种方式(高级玩法) Spring Security 中如何快速查看登录用户 IP 地址等信息? Spring Security 自动踢掉前一个登录用户,一个配置搞定! Spring Boot + Vue 前后端分离项目,如何踢掉已登录用户? Spring Security 自带防火墙!你都不知道自己的系统有多安全! 什么是会话固定攻击?Spring Boot 中要如何防御会话固定攻击? 集群化部署,Spring Security 要如何处理 session 共享? 松哥手把手教你在 SpringBoot 中防御 CSRF 攻击!so easy! 要学就学透彻!Spring Security 中 CSRF 防御源码解析 Spring Boot 中密码加密的两种姿势! Spring Security 要怎么学?为什么一定要成体系的学习? Spring Security 两种资源放行策略,千万别用错了! 松哥手把手教你入门 Spring Boot + CAS 单点登录 Spring Boot 实现单点登录的第三种方案!
1.整体思路 先来看整体思路。
我们用 CAS Server 做单点登录,CAS Server 主要是负责认证的,也就是它主要解决登录问题。登录成功之后,还有一个权限处理的问题,权限的问题则交由各个 CAS Client 自行处理,并不在 CAS Server 中完成。
在上篇文章中,松哥有教过大家定义 UserDetailsService,不知道大家是否还记得如下代码(忘记了可以参考上篇文章:Spring Boot 实现单点登录的第三种方案! ):
1
2
3
4
5
6
7
8
9
10
@Component @Primary public class UserDetailsServiceImpl implements UserDetailsService { @Override public UserDetails loadUserByUsername (String s) throws UsernameNotFoundException { return new User (s, "123" , true , true , true , true , AuthorityUtils.createAuthorityList("ROLE_user" )); } }
这段代码是在什么时候执行呢?
如果我们没有使用 CAS 这一套的话,这段代码当然是在用户登录的时候执行,用户登录时,从数据库中查询用户的信息,然后做校验(参考本系列前面文章就懂)。
如果我们使用 CAS 这一套,用户登录的校验将在 CAS Server 上执行,CAS Client 就不用做校验工作了,但是为什么我们还需要定义 UserDetailsService 呢?这是为了当用户在 CAS Server 上登录成功之后,拿着用户名回到 CAS Client,然后我们再去数据库中根据用户名获取用户的详细信息,包括用户的角色等,进而在后面的鉴权中用上角色。
好了,这是我们一个大致的思路,接下来我们来看具体实现。
2.具体实现 接下来的配置在 松哥手把手教你入门 Spring Boot + CAS 单点登录 一文的基础上完成,所以还没看前面文章的小伙伴建议先看一下哦。
2.1 准备工作 首先我们先在数据库中准备一下用户表、角色表以及用户角色关联表:
1
2
3
4
5
6
7
8
9
10
11
12
13
14
15
16
17
18
19
20
21
22
23
24
25
26
27
28
29
30
CREATE TABLE `t_role` ( `id` bigint (20 ) NOT NULL AUTO_INCREMENT, `name` varchar (255 ) COLLATE utf8mb4_unicode_ci DEFAULT NULL , `name_zh` varchar (255 ) COLLATE utf8mb4_unicode_ci DEFAULT NULL , PRIMARY KEY (`id`) ) ENGINE= InnoDB DEFAULT CHARSET= utf8mb4 COLLATE = utf8mb4_unicode_ci; CREATE TABLE `t_user` ( `id` bigint (20 ) NOT NULL AUTO_INCREMENT, `account_non_expired` bit(1 ) NOT NULL , `account_non_locked` bit(1 ) NOT NULL , `credentials_non_expired` bit(1 ) NOT NULL , `enabled` bit(1 ) NOT NULL , `password` varchar (255 ) COLLATE utf8mb4_unicode_ci DEFAULT NULL , `username` varchar (255 ) COLLATE utf8mb4_unicode_ci DEFAULT NULL , PRIMARY KEY (`id`) ) ENGINE= InnoDB DEFAULT CHARSET= utf8mb4 COLLATE = utf8mb4_unicode_ci; CREATE TABLE `t_user_roles` ( `t_user_id` bigint (20 ) NOT NULL , `roles_id` bigint (20 ) NOT NULL , KEY `FKj47yp3hhtsoajht9793tbdrp4` (`roles_id`), KEY `FK7l00c7jb4804xlpmk1k26texy` (`t_user_id`), CONSTRAINT `FK7l00c7jb4804xlpmk1k26texy` FOREIGN KEY (`t_user_id`) REFERENCES `t_user` (`id`), CONSTRAINT `FKj47yp3hhtsoajht9793tbdrp4` FOREIGN KEY (`roles_id`) REFERENCES `t_role` (`id`) ) ENGINE= InnoDB DEFAULT CHARSET= utf8mb4 COLLATE = utf8mb4_unicode_ci; INSERT INTO `t_role` (`id`, `name`, `name_zh`) VALUES (1 ,'ROLE_admin' ,'管理员' ),(2 ,'ROLE_user' ,'普通用户' );INSERT INTO `t_user` (`id`, `account_non_expired`, `account_non_locked`, `credentials_non_expired`, `enabled`, `password`, `username`) VALUES (1 ,b'1' ,b'1' ,b'1' ,b'1' ,'123' ,'javaboy' ),(2 ,b'1' ,b'1' ,b'1' ,b'1' ,'123' ,'江南一点雨' );INSERT INTO `t_user_roles` (`t_user_id`, `roles_id`) VALUES (1 ,1 ),(2 ,2 );
2.2 CAS Server 然后我们要在 CAS Server 的 pom.xml 文件中添加两个依赖:
1
2
3
4
5
6
7
8
9
10
<dependency> <groupId>org.apereo.cas</groupId> <artifactId>cas-server-support-jdbc-drivers</artifactId> <version>${cas.version}</version> </dependency> <dependency> <groupId>org.apereo.cas</groupId> <artifactId>cas-server-support-jdbc</artifactId> <version>${cas.version}</version> </dependency>
注意这里不用添加数据库驱动,系统会自动解决。
添加完成之后,再在 src/main/resources/application.properties 文件中添加如下配置:
1
2
3
4
5
6
cas.authn.jdbc.query[0].url =jdbc:mysql://127.0.0.1:3306/withjpa?useUnicode=true&characterEncoding=UTF-8&autoReconnect=true&useSSL=false cas.authn.jdbc.query[0].user =root cas.authn.jdbc.query[0].password =123 cas.authn.jdbc.query[0].sql =select * from t_user where username=? cas.authn.jdbc.query[0].fieldPassword =password cas.authn.jdbc.query[0].driverClass =com.mysql.cj.jdbc.Driver
前三行配置是数据库基本连接配置,这个无需我多说。
第四行表示配置用户查询 sql,根据用户名查询出用户的所有信息。
第五行表示数据库中密码的字段名字是什么。
第六行是数据库驱动。
OK,配置完成后,接下来我们就来重启 CAS Server:
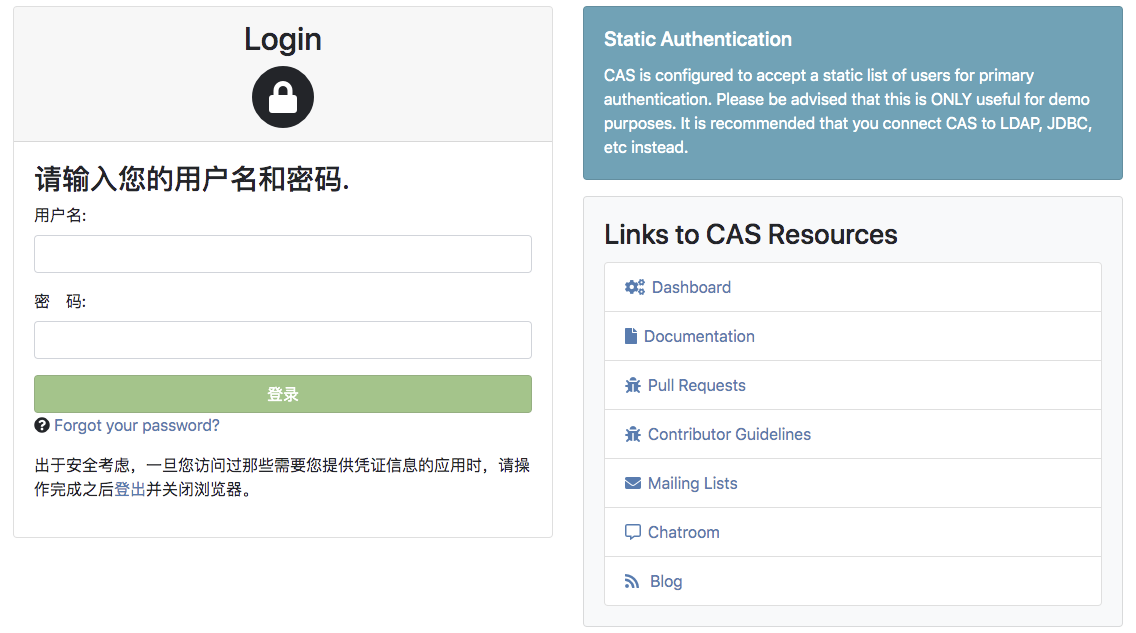
启动成功后,浏览器输入 https://cas.javaboy.org:8443/cas/login 就可以进入登录页面了(注意是 https 哦):
此时登录用户名就是 javaboy,密码是 123。
2.3 CAS Client 接下来我们再来看看 CAS Client 要做哪些完善。
接下来的配置在 Spring Boot 实现单点登录的第三种方案! 一文的基础上完成,所以还没看前面文章的小伙伴建议先看一下哦。
同时,为了案例简洁,我这里使用 JPA 来操作数据库,要是大家不熟悉这块的操作,可以参考本系列之前的文章:Spring Security+Spring Data Jpa 强强联手,安全管理只有更简单! 。
CAS Client 中的对接主要是实现 UserDetailsService 接口。这里要用到数据库查询,所以我们首先添加数据库相关依赖:
1 2 3 4 5 6 7 8 <dependency > <groupId > mysql</groupId > <artifactId > mysql-connector-java</artifactId > </dependency > <dependency > <groupId > org.springframework.boot</groupId > <artifactId > spring-boot-starter-data-jpa</artifactId > </dependency >
然后在 application.properties 中配置数据库连接信息:
1
2
3
4
5
6
7
8
9
spring.datasource.username=root spring.datasource.password=123 spring.datasource.url=jdbc:mysql: spring.jpa.database=mysql spring.jpa.database-platform=mysql spring.jpa.hibernate.ddl-auto=update spring.jpa.show-sql=true spring.jpa.properties.hibernate.dialect=org.hibernate.dialect.MySQL8Dialect
都是常规配置,我们就不再重复解释了。
接下来我们创建两个实体类,分别表示用户角色了用户类:
用户角色:
1
2
3
4
5
6
7
8
9
@Entity(name = "t_role") public class Role { @Id @GeneratedValue(strategy = GenerationType.IDENTITY) private Long id; private String name; private String nameZh; }
这个实体类用来描述用户角色信息,有角色 id、角色名称(英文、中文),@Entity 表示这是一个实体类,项目启动后,将会根据实体类的属性在数据库中自动创建一个角色表。
用户实体类:
1
2
3
4
5
6
7
8
9
10
11
12
13
14
15
16
17
18
19
20
21
22
23
24
25
26
27
28
29
30
31
32
33
34
35
36
37
38
39
40
41
42
43
44
45
46
47
48
49
50
51
52
@Entity(name = "t_user") public class User implements UserDetails { @Id @GeneratedValue(strategy = GenerationType.IDENTITY) private Long id; private String username; private String password; private boolean accountNonExpired; private boolean accountNonLocked; private boolean credentialsNonExpired; private boolean enabled; @ManyToMany(fetch = FetchType.EAGER,cascade = CascadeType.PERSIST) private List<Role> roles; @Override public Collection<? extends GrantedAuthority > getAuthorities() { List<SimpleGrantedAuthority> authorities = new ArrayList <>(); for (Role role : getRoles()) { authorities.add(new SimpleGrantedAuthority (role.getName())); } return authorities; } @Override public String getPassword () { return password; } @Override public String getUsername () { return username; } @Override public boolean isAccountNonExpired () { return accountNonExpired; } @Override public boolean isAccountNonLocked () { return accountNonLocked; } @Override public boolean isCredentialsNonExpired () { return credentialsNonExpired; } @Override public boolean isEnabled () { return enabled; } }
用户实体类主要需要实现 UserDetails 接口,并实现接口中的方法。
这里的字段基本都好理解,几个特殊的我来稍微说一下:
accountNonExpired、accountNonLocked、credentialsNonExpired、enabled 这四个属性分别用来描述用户的状态,表示账户是否没有过期、账户是否没有被锁定、密码是否没有过期、以及账户是否可用。
roles 属性表示用户的角色,User 和 Role 是多对多关系,用一个 @ManyToMany 注解来描述。
getAuthorities 方法返回用户的角色信息,我们在这个方法中把自己的 Role 稍微转化一下即可。
数据模型准备好之后,我们再来定义一个 UserDao:
1
2
3
public interface UserDao extends JpaRepository <User,Long> { User findUserByUsername (String username) ; }
这里的东西很简单,我们只需要继承 JpaRepository 然后提供一个根据 username 查询 user 的方法即可。如果小伙伴们不熟悉 Spring Data Jpa 的操作,可以在公众号后台回复 springboot 获取松哥手敲的 Spring Boot 教程,里边有 jpa 相关操作,也可以看看松哥录制的视频教程:Spring Boot + Vue 系列视频教程 。
在接下来定义 UserService ,如下:
1
2
3
4
5
6
7
8
9
10
11
12
13
14
15
@Component @Primary public class UserDetailsServiceImpl implements UserDetailsService { @Autowired UserDao userDao; @Override public UserDetails loadUserByUsername (String username) throws UsernameNotFoundException { User user = userDao.findUserByUsername(username); if (user == null ) { throw new UsernameNotFoundException ("用户不存在" ); } return user; } }
我们自己定义的 UserDetailsServiceImpl 需要实现 UserDetailsService 接口,实现该接口,就要实现接口中的方法,也就是 loadUserByUsername。
OK ,如此之后,我们的 CAS Client 现在就开发完成了,接下来启动 CAS Client,启动成功后,浏览器输入 http://client1.cas.javaboy.org:8080/user/hello 访问 hello 接口,此时会自动跳转到 CAS Server 上登录,登录的用户名密码就是我们存储在数据库中的用户名密码。登录成功之后,经过两个重定向,会重新回到 hello 接口。
hello 接口访问成功之后,再去访问 /user/hello 接口,就会发现权限配置也生效了。
这里比较简单,我就不给大家截图了。
3.小结 好啦,今天主要和小伙伴们分享了一下 Spring Security + CAS 单点登录中,如何使用本地数据库。一个核心的思路是,认证由 CAS Server 来做,权限相关的操作,则还是由 Spring Security 来完成。
好了 ,本文就说到这里,本文相关案例我已经上传到 GitHub ,大家可以自行下载:https://github.com/lenve/spring-security-samples
好啦,小伙伴们如果觉得有收获,记得点个在看鼓励下松哥哦~